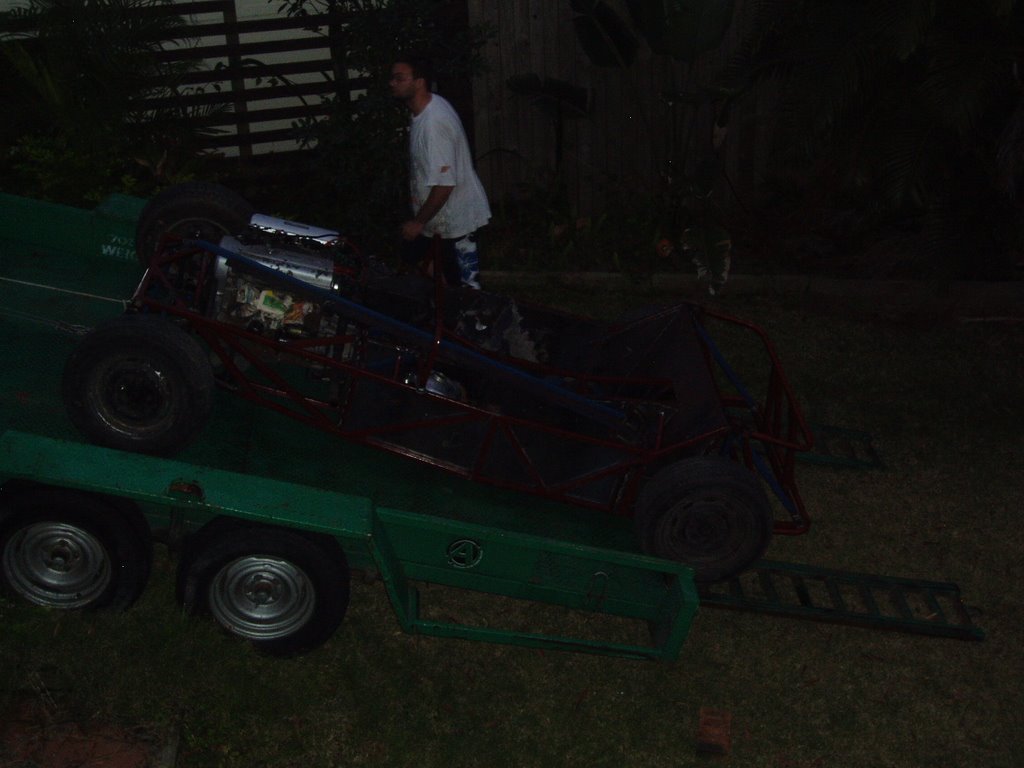
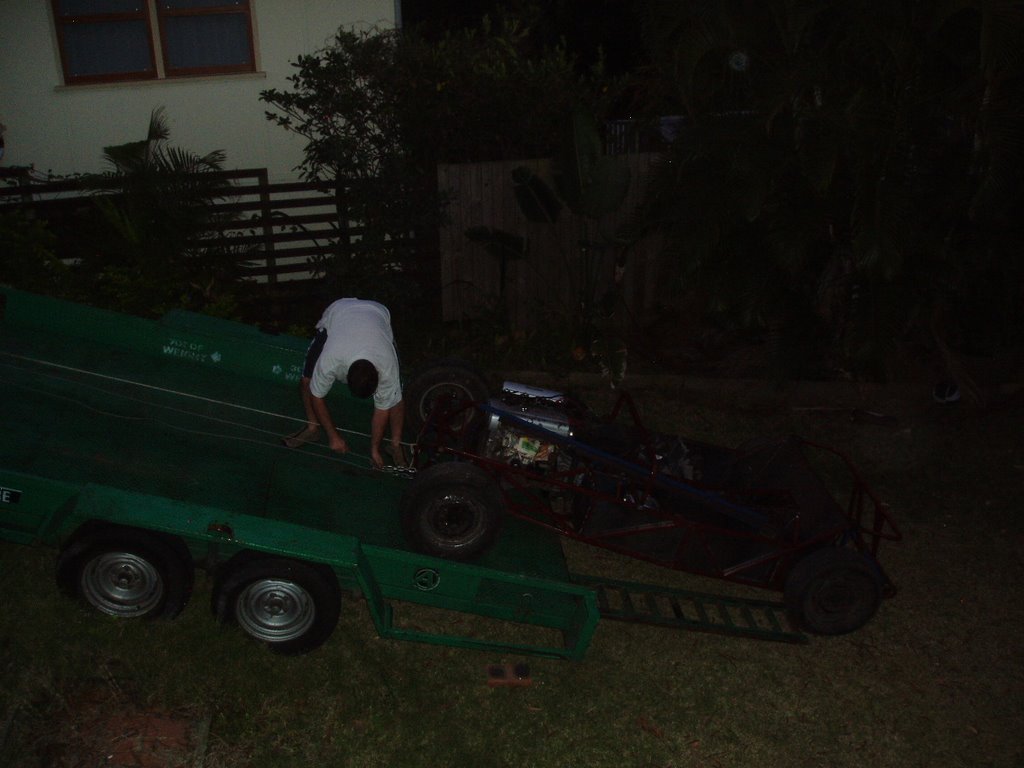
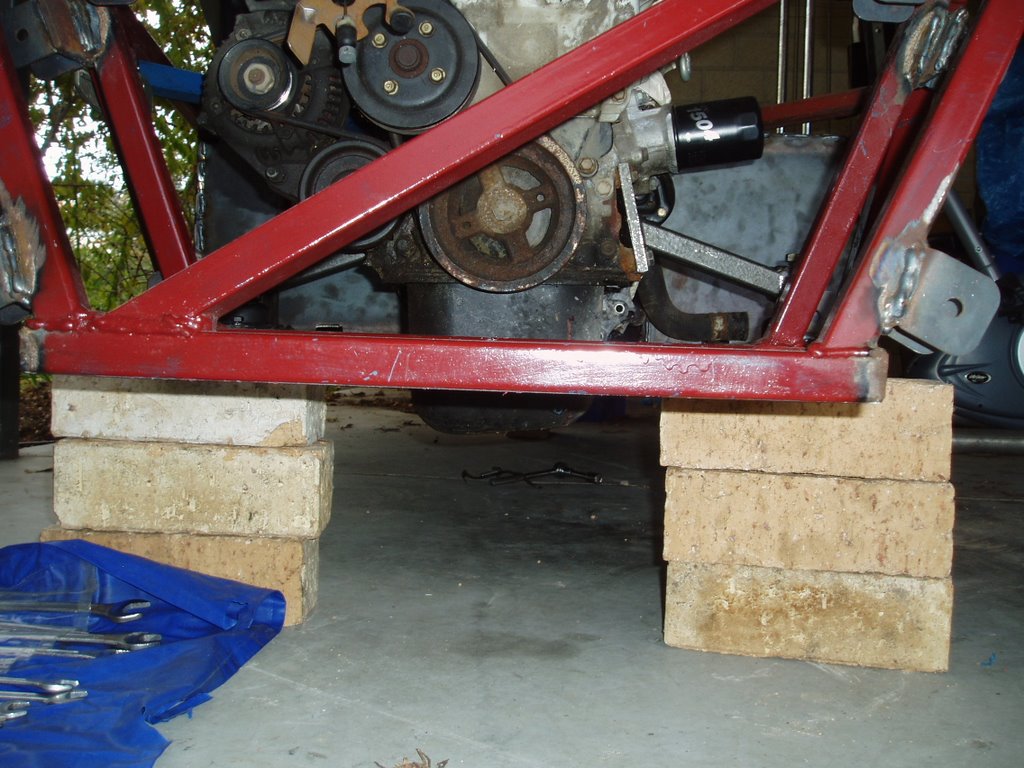
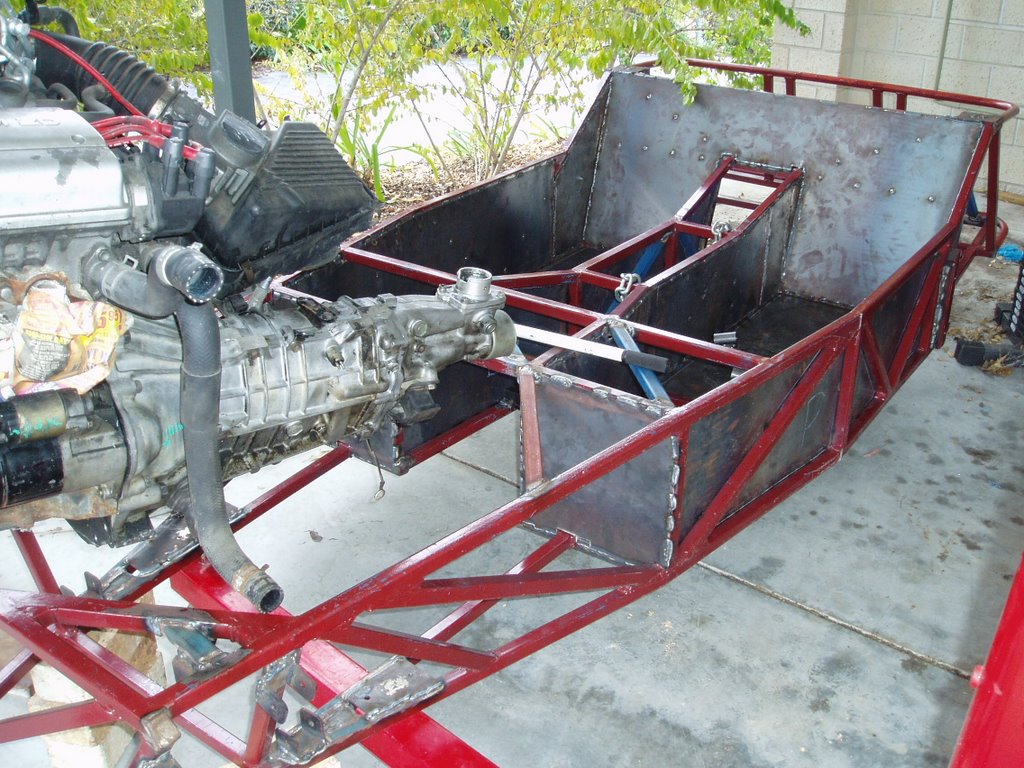
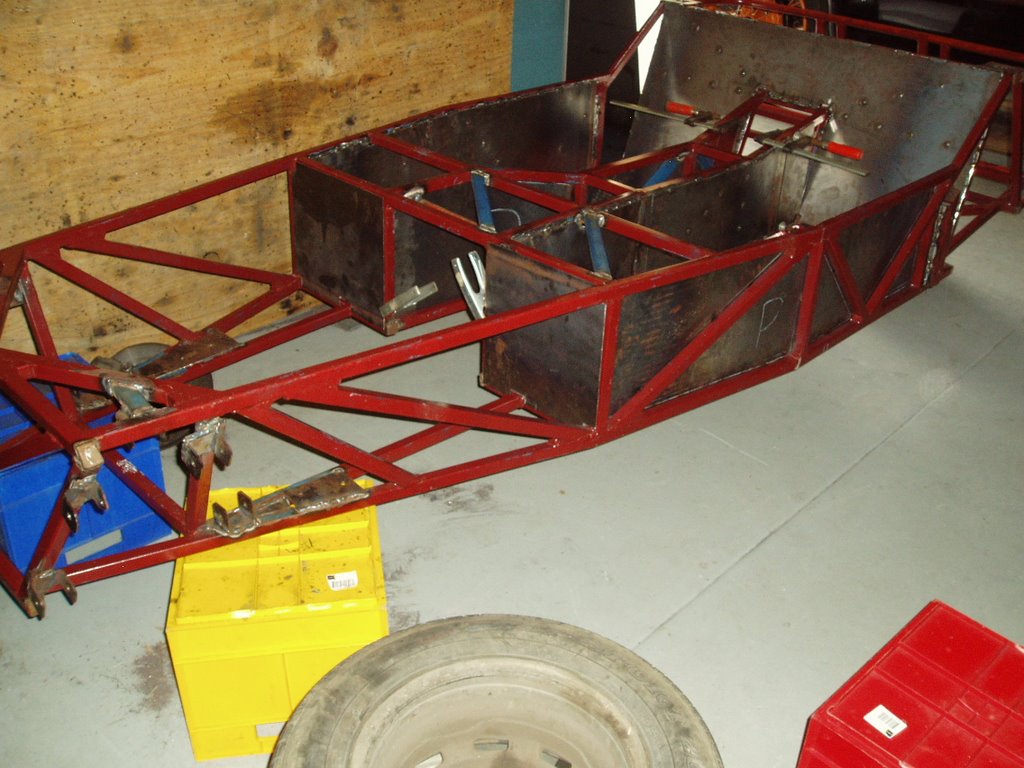
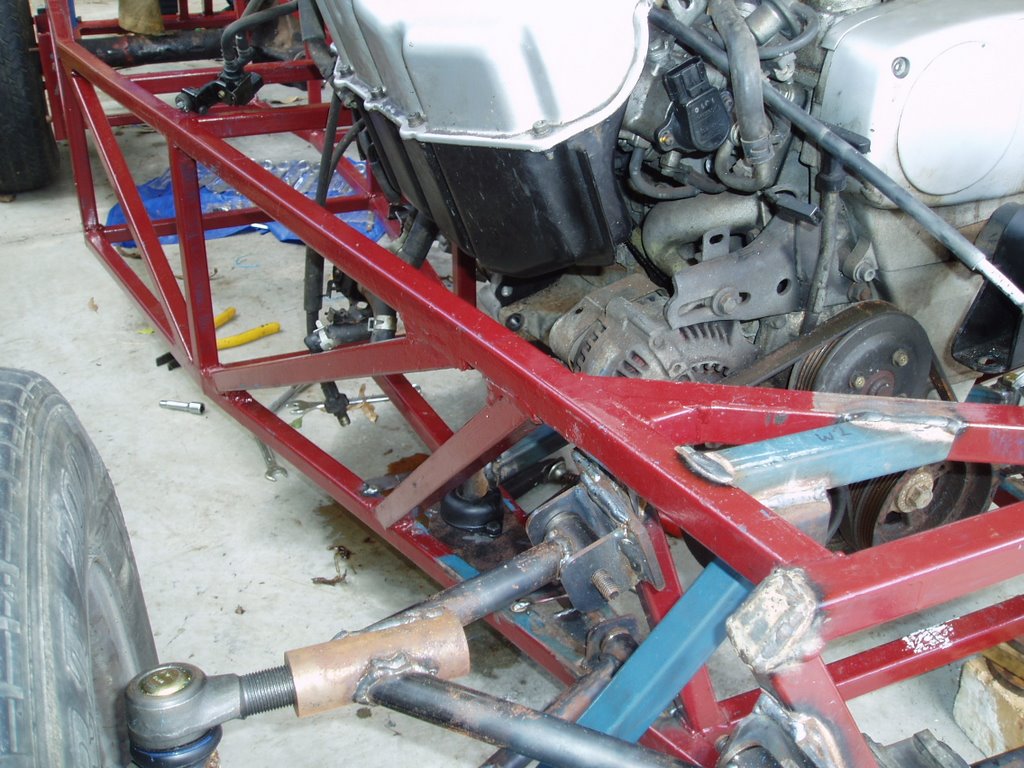
Well it is red, very very red. "Indian red" to be exact. Most of it will be covered but just enough will show through for an interesting contrast to the final body colour (A well kept secret). Since making it home, I have removed the engine and wheels. Put it on "bricks", well horses is more like it, and starting adding the bits to make it drivable.
As can be seen from the photos, the driver has somewhere to sit (spiderman is already putting a claim to that seat - hopefully I can talk him into being the navigator), and the steering is in. The pedals have been mounted but not in situ in any of the pictures. Sitting in it, the seating position feels nice and everything seems in the correct place. A keen eye will notice the pedal mounts are on a slight angle, this is by design to ensure that both the brake pedal and steering are centered in the car. The angle also stops the clutch pedal from hitting the firewall, this saved me from having to modify the box. I am still not sure if I will hide it or make it a "feature", when putting the ali in engine bay.
I have also almost finished welding the fuel tank, hopefully it turns out. Planing on using POR15 to seal any holes created from the welding process. It is the rusty looking thing in the top photo and yes that is the final location. I expect it to hold just under 40 Ltrs. If I get around to it I will post pictures of the jig for the sliding rails for the seat and the tank jig (an empty beer carton).
Plans for the upcoming month is to strip the brake booster back to just the insides. eg: No vacuum boost. Modify it to fit the Honda pedals and the Toyota bits taken from the half cut. Finish the fuel tank, get the steering rack into the correct position and run fuel and brake lines. Then i can go back to putting it on wheels, the engine in and running the electrics (That is where the real fun comes in).
Hopefully the progress and the updates will be a little more regular.